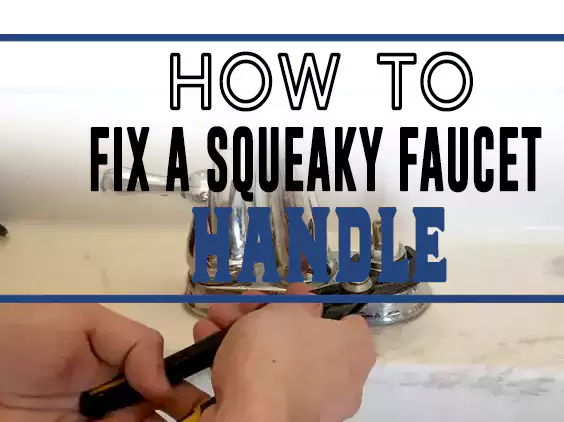
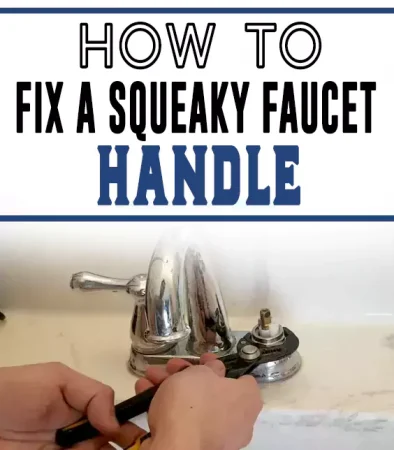
How do you stop a kitchen or bathroom faucet handle from squeaking? Solutions and tips to fix a squeaky faucet handle.
It can be annoying to hear that irritating creak every time you turn the tap on and off. There are various reasons that can cause your faucet to produce that high-pitched sound.
Fixing a squeaky faucet handle is crucial in restoring your sanity in the house and eliminating that squeaking noise.
The repair process will not take too much of your time, and it’s a good home project, especially if you prefer doing it yourself rather than hiring.
All you need is a set of easy-to-follow instructions and the right tools to fix a kitchen faucet handle that is squeaking.
What Causes a Bathroom Faucet to Squeal?
One of the common causes of squeaky bathroom faucet handles is older faucet versions. These taps have two handles that can rotate beyond 90 degrees.
With time, their washers wear out, this can misalign hot and cold knobs causing faucet handle squeaks.
Your faucet may also produce a squeaking sound due to the friction between the metal stems and valve housing. Loose valve stems and washers can vibrate, causing a squeaking sound.
If your inlet hole is partially blocked, the water will flow with a lot of pressure, producing a squeaky noise.
5 Steps to Fix a Squeaky Faucet Handle
Before engaging in any repair, it’s crucial that you familiarize yourself with your faucet. There are various designs and styles of faucets, and you need to identify the type of faucet you are using.
Here are some of the main parts of a faucet and what they do.
- Aerator: An aerator consists of a metal mesh screen, and it’s located at the mouth of the spout. It regulates the flow of water by dividing the stream water into multiple streams. This helps to reduce the amount of water coming out and increases the water pressure.
- Spout: The spout is the most visible part of the faucet and determines the style of the faucet. It’s the opening where water flows out.
- Faucet handle/knob/lever: It controls the flow of water by opening and closing the internal valve. It’s the knob you use to turn the water on or off.
- Faucet body: It transports water from the supply pipe to the spout
- Escutcheon: It acts as an amount where the faucet is attached to the countertop. It also hides and protects any holes drilled when installing the faucet.
- Mounting nut: It located under the sink, it holds the faucet firmly to the sink
- Adjusting ring: It ensures that the faucet joints are watertight
- Washer: It is a small flat ring made of rubber, metal, or plastic that attaches the aerator to the kitchen faucet stems.
- Shout-out valves: It control the flow of water
- Spray hose: It links the water supply to the faucet
- Spray Nozzle: It used to spray water
1. Identify the Problem
Now that you are familiar with your faucet, you need to diagnose the problem to find an appropriate approach.
A squeaky facet is usually caused by a lack of lubrication in the handle when going against the stem.
You have to inspect the handle and all the parts holding it to ensure you focus on the right issue.
2. Get the Necessary Equipment
Once you diagnose the problem and the right approach to fix it, the next step is to gather the proper equipment to get the job done.
The tools will help you disassemble the faucet parts and allow you to fix the problem. Some of the crucial tools that you will need include:
- screwdriver
- drill
- screw extractor
- Some screws
- pair of pliers
- wrench
- lubricant
Ensure you have the right screwdriver for the type of screws you are using. Take proper precautions when using these tools to avoid causing injury to yourself or others.
Some of these tools are not necessary, but they can help to make your work easier.
3. Remove the Faucet Cap
Removing the faucet cap is the first thing you need to do as it allows you to see all the parts underneath it. You will require a screwdriver to apply some pressure to pry the cap off.
You may find that the cap is secured too tight and won’t come off using a screwdriver. In this case, you can use some pliers to loosen and remove the cap.
Use the pliers to grip the cap and rotate it clockwise. Whichever method you use, ensure that the cap comes off for the next step.
4. Remove the Screw and the Knob
Next, you need to remove the screw on the knob located just beneath the cap. This will allow you to remove the knob. You will still use the screwdriver for this step to turn the screw clockwise until it comes off.
Alternatively, you can use a drill since it exerts more force making the process much easier and faster. You can also use a screw extractor if you have it, but this step can also be accomplished by hand.
Once the screw is off, ensure you store it properly as you will require it later. You can place it in an open area or a box so it does not get lost.
If the screen gets damaged when removing it, you can replace it with a new one to make sure it will hold tightly. Remove the knob to allow access to the handle stem.
5. Lubricate the Handle Stem
The next step is to apply the lubricant to the faucet handle stem. This will help to eliminate the squeaking noise and allow the handle to rotate with less resistance.
Apply the lubricant of your choice to all the visible parts of the faucet handle. You can also use a plumber’s grease to coat the handle stem.
Solutions Re-Cap
Fixing a squeaky faucet handle is a simple process that won’t take much of your time.
You can also choose to replace the entire faucet with a new one to eliminate the faucet squealing noise. You can also consider getting a professional plumber to fix a squeaky faucet for you.
Lubricating the faucet handle will get rid of the squeaking noises and ensure your facet opens and closes easily.