Do you need to remove handles from Delta faucet? We’ve got a step-by-step guide for home to remove Delta faucet handle.
The problem with the Delta faucet handle removal is, that you can’t just pull on the handle and expect it to come off because it won’t budge at all. The company uses so many different handle styles.
However, no matter the design of the handle, there are some ways to remove the delta faucet handles. Follow the steps below, even the most difficult faucet handles can be removed in no time.
But, if this is your first time removing a Delta faucet handle, it may take some time and patience.
How to Remove Delta Faucet Handle
Removing the Delta faucet handle starts after identifying the type of handle that you have on your Delta faucet. The next step would be to remove it from its base.
There are different types of faucet handles e.g., single control faucet, two-handle, and three handles. In order to do so, you will have to follow a specific series of steps depending on your model.
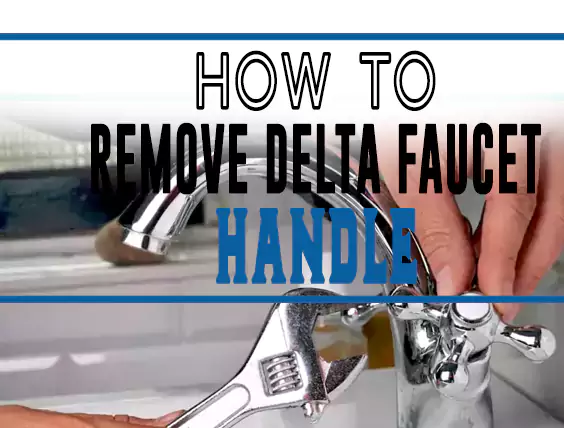
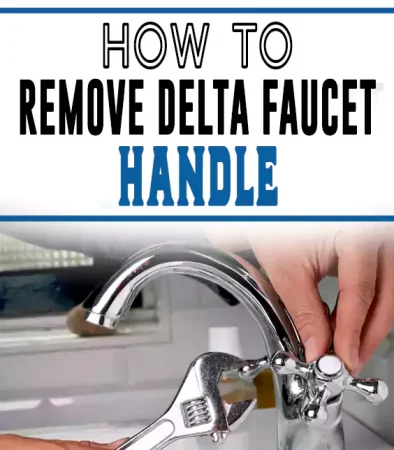
The Delta faucet handle has a smooth surface, and it is a rotary-type mechanism. The shape is similar to that of the letter “C”. To configure it, one needs to have a wrench or pliers as per need.
Tools you Need:
- Ratchet set
- Pliers
- Wrench
- Paper towels
- Screwdriver
- Removal tool
- WD-40 spray
Step 1: Turning off the Water
Turn off the water passing through the faucet. For this, turn the handle clockwise, and the water coming out will stop.
If there are any shutoff valves, turn them off as well. Now, open up any fixtures or cabinets under the sink to release any water left in pipes before you take apart a Delta faucet.
Step 2: Removing the Decorative Cover
If it is a single control faucet, remove the decorative cover by unscrewing it counterclockwise. This is a common step when removing the bathroom faucet handle.
If there is any handle or tap attached to the faucet, use pliers to break them. If you cannot do this, place a cloth over the screwdriver, and hit it once using a hammer in order to remove it.
Be careful while doing this. Unscrew the screw (if any) that holds it with the rest of the faucet. If the decorative cover is two-handle or three-handle, then use a wrench to remove it.
Step 3: Turning the Screw Cap
Start removing the handle by turning the screw cap counterclockwise. You can use a small flathead screwdriver or an Allen wrench to remove it. This is usually located in the center of the faucet handle.
Step 4: Removing the Screw
Next, remove the screw located on the front of the faucet handle. Use a Phillips head screwdriver for this task.
This screw is usually very tight, thus it may take some effort to remove it. Make sure that you are using the correct-sized screwdriver for this.
Step 5: Taking Out the Pin
The next step is to take out the faucet handle assembly. In order to do this, take out the pin located on the top of the bathroom faucet handle using a plier. Then you can take out the assembly from the faucet.
Step 6: Taking Out the Cartridge Assembly
If there are any cartridges in the faucet, then remove them by following all instructions provided in the manual.
Step 7: Removing Handle from a Delta Faucet
Now, remove the Delta bathroom faucet handle by pulling it downwards. Be careful because there is a small rubber washer in the center of the stem in some models, which you need to take out before removing the component completely. And that’s how you open up and repair Delta faucets handle.
How to Remove Delta Bathroom Faucet Handle Without Screws
To begin removing Delta bathroom faucet handle with no screws, you need to go by the following steps:
Step 1: Turn the Water off
Turn the water off before doing anything with the faucet. If there isn’t any water line under it, push the handle up inside the valve to drain the water that’s left in the faucet and lines. This step is very important for Delta two handle faucet repair.
Step 2: Cover the Drain
Cover the drain with a rag to collect any falling parts.
Step 3: Remove the Screw
Use an Allen wrench to remove the screw that holds the handle to the faucet.
When it is steady, use pliers to grip the top section of the handle and turn it counterclockwise as much as possible before pulling on it with your hand.
Step 4: Pull the Cartridge Out
Now you will see a small cartridge coming out from under the faucet valve or sink tower, and there is another piece behind this cartridge inside the faucet.
So, be careful while taking them out because if you do not remove them properly, these pieces may break when trying to install them back again later.
Step 5: Take out the Hex Nut
If all parts are removed then take out the hex nut by turning it counterclockwise.
You are done!
How to Remove the Cap Assembly from Delta Faucet
Now, if you want to remove the cap assembly after the Delta faucet handle removal, use your wrench to completely remove any remaining screw that may still be holding down the cap assembly of your faucet.
Then, remove the cap assembly and set it aside for now so you can work with your new Delta kitchen faucet handle safely. Do not use pliers with sharp teeth to work with the inside of your faucet.
Doing so can damage it permanently and make it malfunction. Once all of the parts are removed, you can now access your faucet base and start cleaning it up if you want.
Final Thoughts
Delta Faucets are a great choice for people who want good quality and performance but don’t have the time to fiddle with difficult installations. To remove the Delta faucet handle, all you need to know is what tools will work best on your specific model of the faucet handle.
For the accurate faucet handle removal of a bathtub or shower without screws, I recommend using an adjustable wrench and channel lock pliers. If these wrenches aren’t available, try prying out the end caps that hold them in place before loosening them off by hand.
Make sure to use the right tool for the job because using the wrong one can cause damage to your fixture and lead to leaks in your home.