You can reverse the faucet handle direction by simply turning it 180 degrees. This is an easy, quick, and free way to reverse a faucet’s handle.
First, you need to remove the faucet handle. This can be done by using a wrench or pliers. The most common way is to use a pair of pliers with a rubber grip that will not scratch your finish. You may need to use some force, but do not worry because this will not hurt your faucet or cause any damage.
Next, turn the handle 180 degrees so that it faces forward instead of backward. You can now put back on your faucet handle and tighten it with your wrench or pliers.
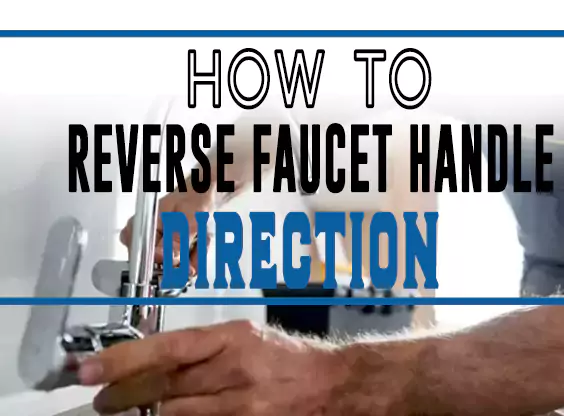
Does the faucet handle turn in the wrong direction? This guide will show you how to reverse the direction of a faucet handle completely. The steps are easy to follow and can be accomplished in less than 10 minutes.
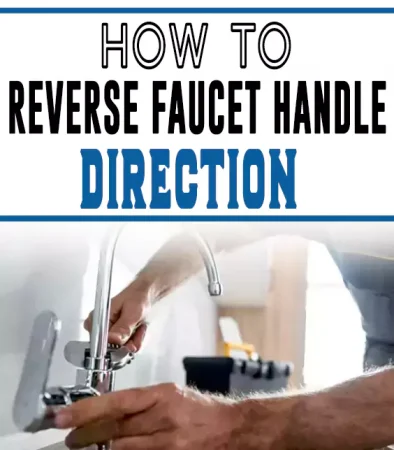
How to Reverse the Direction of Faucet Handle
Tools You’ll need;
- Screwdriver
- Adjustable wrench or
- Towel
Step 1: Closing the Water Supply
The first step is to find the hot and cold water supply line which is usually located under the sink. Turn off the water supply to the faucet.
Then turn the faucet handles and check for water flow. You can move on to the next step of unscrewing the faucet.
Step 2: Unscrewing the Faucet Handle
The next step is to remove the faucet handle. The faucet handle is usually held in place by a screw which is located at the base of the handle.
Sometimes, the screw holding the faucet is under a decorative cap for the faucet. Once you find the screw holding the faucet handle, use a screwdriver or an Allen wrench to remove the screw.
Once you’re done with this step, you are ready for the next stage which is to loosen the cartridge.
Step 3: Loosening the Cartridge
The next step is to find the nut that secures the faucet cartridge. Once you find it, use a screw to loosen the nut before removing it.
Once you have loosened the cartridge, take out the faucet valve by holding the stem firmly and gently shaking it out of position. Once you’re done with this step, you can move on to rotating the cartridge
Step 4: Rotating the Cartridge
This is the main step in reversing the faucet handle direction. First, rotate the cartridge 180 degrees, then make sure the two tabs on the sides of the cartridge align with the slots on the lip of the valve’s body.
Once you’re done with that, fix the cartridge back into its place and then you can move on to fixing the faucet handle back.
Step 5: Fix the Faucet Handle
After rotating the cartridge 180 degrees, work your way back to fix the faucet handle. Start with screwing the cartridge nut in place so as to secure it. Then fix the faucet handle in place and screw it tightly.
Once you have fixed the faucet handle back, and screwed it in place tightly, then you can proceed to open the water supply to the faucet.
How To Replace The Faucet Cartridge
Detach the faucet
The next step is to remove the faucet from its cartridge. You can unscrew the faucet with your fingers
Remove the faucet cartridge
To do this next step, you have to first remove the screw that holds the faucet cartridge in place by unscrewing the nut. Once you have removed the nut, then you can gently remove the cartridge.
Replace the cartridge
Once you have removed the damaged faucet cartridge, then you replace it with a good cartridge. Once you fix the new cartridge, then secure it in place by fixing the locking screw back.
Attach the faucet to the cartridge and screw it in place. Make sure to screw the faucet in place properly to secure the faucet.
Once you have secured the faucet in place, then open the water supply and check the progress of your work.
How To Reverse Stem Rotation on Delta Faucet
- The first thing you need to do is to close the water supply to the faucet.
- Then, locate the screw that holds the faucet head in place and loosen it before removing the screw.
- The screw is usually on the side of the handle cover that faces the back wall. This will then expose the ceramic cartridges underneath the faucet head. Take the cartridge, and remove the rubber cuff, then remove the upper ceramic disc next.
- All you need to do now is to turn the ceramic disc 180 degrees. After turning the disc, fix it back into the cartridge with the same side.
- Then cover it with the rubber ceiling collar. Then fix the faucet head back and screw it tightly in place.
- Once you’re done, the stem rotation should have changed.
- Open the water supply again and test whether you were successful.
If you were not successful, then it might be that the ceramic cartridges are worn out. In that case, you’ll need to replace the ceramic cartridges
Why Should You Set the Faucet Handle in Another Direction?
In most countries, the left faucet should be hot, while the right faucet should be cold. Also, the screw threads usually tighten when turned clockwise, while they are made to loosen when turned anti-clockwise.
That means that turning the faucet clockwise would shut off the water supply while turning the faucet anti-clockwise would turn on the water supply.
However, this is not always the case. There are different manufacturers of faucets, and some of them don’t follow the normal conventions.
Today, many faucets are built in a way where you can manually adjust the temperature of the faucet by how you turn the handles of both the hot and cold water lines. Plus, sometimes, your faucet handles might turn in the wrong direction because of how they are installed in your home
Having the faucet handle turn in the wrong direction can become a serious problem. For example, if you are in the shower, you might try to increase the cold water but end up increasing the hot water and scalding your skin, if your faucet handles aren’t turned properly
When using your faucet handles to control the temperature of the water, make sure to use both hands so that you don’t accidentally scald your skin by accident.
Wrap-Up
There are several reasons why your faucet handle is turning direction on its own. The first and most common reason is that the faucet handles are not aligned correctly.
In this case, you have to loosen the faucet, remove the faucet head, and manually align the faucet handles in the right direction.
When dealing with faucets that use ceramic handles, all you need to do is to remove the faucet head, expose the ceramic cartridges, turn the affected cartridge 180 degrees, and fix the faucet head back.