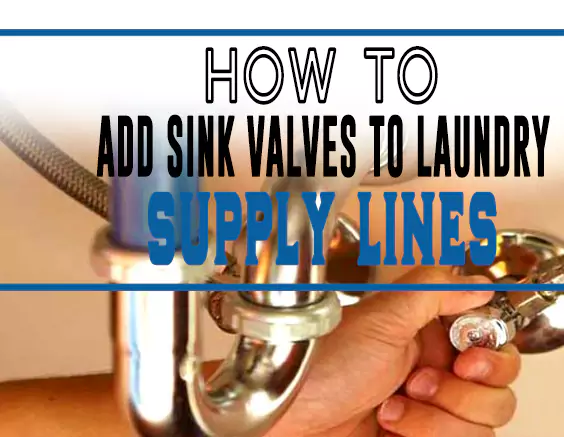
If you want to add sink valves to your laundry supply lines, you’ll first have to disconnect the water pipes. Here’s a complete guide.
Consider adding sink valves to the hot and cold water pipes if you face a water leak situation. The valves can shut off water to one sink without affecting the supply to others.
Adding more than one outlet to the water supply line can save your home from water damage. The sink valves usually cut off water flow at the source before the problem becomes unbearable.
In addition, the sink valves let you turn off the water if you have a cracked pipe.
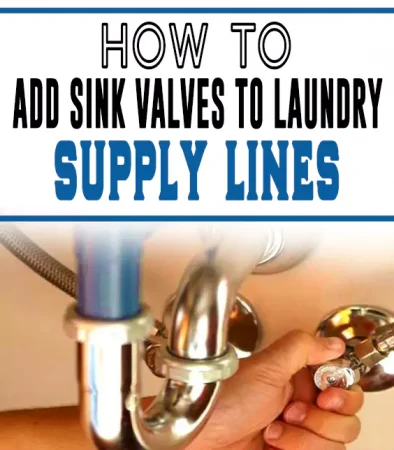
Add Sink Valves to Laundry Supply Lines
Material Requirements:
- Tubing cutter
- Solder and gas
- Water-soluble flux
- Mag torch
- Wire brush
- Copper tubing
- Hammer drill
- Carbide-tipped masonry bit
- Copper pipe hangers
- Adjustable pliers and pipes
- A bucket and a pair of gloves
Step 1: Disconnect Washer Hoses from Water Pipes
You first turn off the hot and cold water supply through the washer box before unplugging the machine from power.
Turning the water off protects you from large spills if you make accidental mistakes with the hoses. Now disconnect the washer hoses from the water pipes and pull the machine away from the wall.
If clamps are holding down the hoses, loosen the grip with your screwdriver and open the valves.
Consider draining excess water into the bucket and double-checking the valves after the washer movement and pipes disconnection.
Step 2: Cut Ball Valves with a Tubing Cutter
A tube cutter is an ideal tool for cutting pipes and ball valves to different lengths. It is integral for adding laundry sinks to laundry supply lines and a DIY tool for most homeowners. In this case, use the tool to cut the valves from the ends of water pipes.
Mark the cutting spot on the valve, place it in the cutter, and tighten the blade. Please give it a few turns and inspect the valve.
Continue tightening the blade until it cuts the ball valve. Remove the raised lips or burrs on the valve and smoothen the edges. Rinse thoroughly to eradicate residues and filings attached to the valves.
Step 3: Solder Tee Fittings to Both Lengths of Copper Tubing and Valves
Get your tee fittings before calling your solder into action. Ensure you heat both lengths of the tubes with your torch and valves before focusing on the fittings.
Circle the heat around the fittings for a few seconds. Keep the flame away from the washer’s body to avoid overheating the internal components.
Probe your solder and ensure it penetrates the fittings. Now clean the surface with a towel and consider retightening to avoid common accidents. It’s time to focus on marking locations and drilling holes with your hammer.
Step 4: Drill Holes with Carbide-tipped Masonry Bit on a Concrete Wall
Carbide masonry bits are efficient and suitable for rigid surfaces such as concrete walls. Get the standard bits in your hammer drill and mark your most desired spots. Drilling is a challenging task for beginners, and it is advisable to handle the masonry bit care.
Ensure you select a suitable spot with comfort to avoid injuries. Place the drill on the wall and create holes for plastic anchors.
Now insert the plastic anchors and screw the copper pipe hangers into the wall. Consider purchasing multiple masonry bits, as you may break a few during the drilling process.
Step 5: Solder the Vertical Tee-and-valve Assemblies to your Water Pipes
You first clean the water pipes with a nylon grit pad and towel to make the copper shine. Now apply a thin layer of the water-soluble flux to the tip of your fitting. Clean the inner part of the fitting with a brush and apply another layer inside it.
Now put the coupling on the valve and clean the surrounding flux with a towel. Go through the same process on the other edge and connect the coupling. Light up your mag torch, adjust the flame, and preheat the first half of the valve.
Touch the solder to the pipe ends and ensure it penetrates the fitting for optimal result. Ensure you solder a 90-degree elbow and horizontal pipe length to the water pipes reaching the utility sink. Now clean the surface and focus on testing the water supply.
Step 6: Reconnect the Washer Hoses and Conduct a Test
After using the solder on the valves, clean the surface and inspect the joint. Ensure the fitting holds the water pipe and proceed to the back of the machine. Connect sink valves to laundry supply lines from the water source.
Ensure you connect them to the suitable valves and put the drain hose in the standpipe. Now consider connecting your washer to power and conduct a test on your supply lines.
Turn on the water and open the valve. If the supply line test fails, consider replacing the valve and start the process again.
Adding a Sink to Existing Plumbing
Material Requirements:
- Flexible tubing
- Pliers
- Plumber’s glue
- PVC Y-fitting
- Measurement stick
- Sandpaper
- PVC hand saw
- Wrench
- Two Pipe splitters
Step 1: Cut the Water Supply
Cutting the water supply line is your first task. Ensure you turn the water supply off to prevent splashing that can cause damage to your home during installation.
Step 2: Measure the Drain Pipe
Start your measurement from the ground and locate the existing drain line. Furthermore, measure the sink drain line and indicate with a marker. It is the location where you set the new Y-fitting.
Step 3: Cut and Smooth the Drainpipe
The mark made during measurements will ensure a seamless and accurate cut. Start cutting the drain pipe from the marked spot to the connecting pipe above it.
Now cut the T-fitting from the washer’s turning point toward the exit drainpipe and smoothen the edges.
Step 4: Add the Sink and Attach the Y-fitting
The fitting is the arm connecting the utility room laundry sink with washer hoses. Attach one arm of the Y-fitting to the existing drain pipe.
Connect another pipe to the Y-fitting top and the third arm to a pipe running from the sink’s drain. The arm will hold the pipes tightly if you apply the glue.
In addition, consider using high-quality and waterproof glues for optimal results.
Step 5: Identify Water Sources
Locate the water pipe connections beneath your washing machine and disconnect the hot and cold water pipes.
Ensure your pipe size is no longer than necessary for good fitting. Drain the pipe into your bucket and cut the pipe midway between the sink and washer.
Step 6: Add the Pipe Splitter
At this stage, screw the splitter to the water source with your pipe splitter. The splitter is efficient for splitting washer supply lines into the washing machines. It will differentiate the water supply from the cold and hot pipes.
The first line goes to your sink while the other connects to the existing washer pipe. Attach the splitter to both pipes connecting the washing machine to the sink faucet before connecting hoses.
Step 7: Connect Hoses
Now connect the splitter’s tubes to the cold and warm lines. It is advisable to use appropriate pipes and a nut for efficient tightening.
Final Thoughts
Your home plumbing system can run water lines for the washing machines. You can turn the water off in the event of a broken pipe emergency. The sink valves also come in handy when you need to make repairs in your home.
Washing machines usually have cold and hot water supply valves. But if you’re adding a sink to existing plumbing, place it beside the washer.
Another ideal option involves drilling and placing the water supply valve into the wall. Sink valves are durable and affordable, making them the perfect choice for your laundry supply lines.
Consider evaluating the sink valves periodically to keep them in good condition, especially if you own a rental or vacation property.