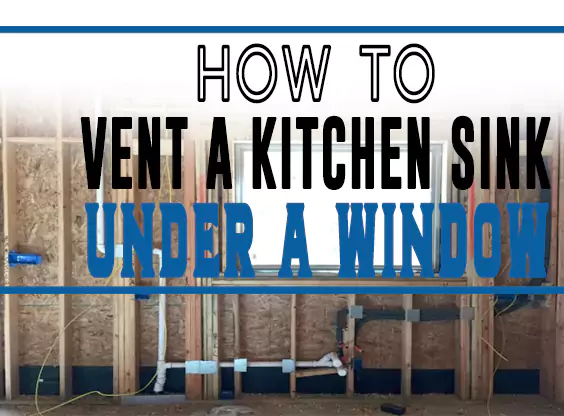
Venting a kitchen sink under a window is relatively simple. Here’s our handy guide for how to vent a kitchen sink under a window.
Vents enable water to flow through drain pipes by letting air into the pipes.
Generally, there isn’t much difference between drains that are vented and those that are not.
Vented drains are better at removing odors and ensuring good drainage. The simple way to vent a kitchen sink under a window is by using an exhaust hose and running it horizontally beneath the window until it connects to the main supply line.
Only a few hours are needed for most vent installs.
The pipe must always be inclined upwards.
How to Vent a Kitchen Sink Under a Kitchen Window

Tools you’ll need:
- Drill
- Hack saw
- Chalk line
- Tape measures
- PVC Cement
- Hammer
- Screwdriver
Step 1: Calculate the distance to the main vent
There is likely a central vent in your house. The attic could be a good place for this to go out. A wall might also be used as a vent.
The primary vent is usually located near the kitchen in most settings.
If you’ve relocated your kitchen, this won’t be the case. In most cases, though, the vent exits via the roof.
The distance between your sanitary tee and the P-Trap is limited to 3.5 feet. The beginning point of your vent pipe might be as little as this distance or as long as you choose.
To get the best of all worlds, the sanitary T should be located near the sink, yet close enough to allow for a reasonably simple route for the pipe beneath the window.
Take a reading of the distance between your P-trap and the main vent after you’ve identified it.
You may want to take a second look at it and make sure it’s accurate. This step can also be used for venting the kitchen sink around a window.
Step 2: Insert the sanitary tee
This is the second step, and it involves inserting a sanitary tee into the drain of the sink.
In other words, since the sink drain line originates in the hollow wall of your kitchen, the installation will take place there.
It is recommended to use the 2 x 2 inch PVC sanitary tee for 2-inch wide waste lines.
Then, using a tape measure, measure 3–12 feet from the bottom of the P-trap. You should do this now because it can’t go further away from the P-trap than this distance.
The port should be facing up when installing the tee on the sink pipe. Assertively attach the tee to the drain and the drain’s continuation using adhesive.
Step 3: Insert a PVC pipe
Measure the length of the PVC pipe using a tape measure of up to 2 inches.
Once the pipe has been measured, it can be cut to size using a hacksaw. This step is very essential for venting a kitchen sink center under a window.
Assemble the 1.5 -inch PVC cement to the sanitary tee’s port with the help of the PVC cement.
Then insert the sweep elbow into the pipe and secure it. Make sure it’s facing the wall, and then glue it in place.
Step 4: Extend the additional line beyond the window
The pipe will go vertically past the glass, so look up and see if you can find it. Take a chalk line and snap it at that exact spot.
No less than 14 inches per foot of the uphill slope is acceptable. As an example, if your elbows are 2 feet apart, the line should climb no less than 12 inches.
Step 5: Hole drilling
Drill 1 5/8-inch hole in every stud between the elbow and the point where the vent will rise.
Make certain that each of your holes is in line. Using a hole saw is also a good idea.
Step 6: Make a cut in the pipe
Use a hacksaw to cut a 1-1/8-inch long pipe from the elbow to the vent mounting point for venting.
After that, gently thread it through the holes you bored in the above step and secure it in place. When you’re done, use the PVC cement to attach the elbow to the pipe.
Then, attach a second elbow to the pipe on the other side. The outlet should be facing upwards.
Step 7: Drill a hole
In order to install the kitchen sink plumbing, use a drill to produce a 1 5/8-inch hole on the wall’s upper plate.
Using the opening in the wall, extend the vent to the attic via it. It should be run horizontally to the major vent. Tie the new vent to the central vent stack using a stack fitting reducing sanitary tee.
Note:
- If you’re going to route your new vent via the attic, be sure the slope is no less than 1/4-inch per foot.
- Examine the materials that were used to create the vents that are currently in place. To build your kitchen sink vent, use the identical ABS pipes that were used to make your central vent. PVC glue should not be used for this purpose.
How to Fix a Kitchen Sink Vent for Adequate Drainage
Slow or no water flow is possible when the vents in your plumbing drain system are blocked.
When the vents are entirely closed, the effect is similar to covering the end of a full drinking straw with your finger.
1. Remove any obstructions in the drain
Watch out for slow-draining sinks. It’s important to keep looking for obstructions in the drain to narrow the problem down to a vent issue since slow draining is one of the first indicators of vent blockage.
2. Listen for background noise
When you open a second drain, listen for gurgling noises coming from the first. To provide an example, you may hear a gurgling sound coming from the sink as you empty your sink.
3. Take out the P-trap
You may remove the P-trap from the fixture where you hear the kitchen sink gurgling if it’s easily accessible.
Use a set of adjustable pliers or a set of hand tools to unscrew the trap’s compression nuts.
Before removing the trap, put a bucket beneath it to collect any water that may leak out.
4. Spray water
Spray water into the main vent on the roof using a garden hose.
A clogged main vent will cause a backflow of water into the system. That’s an indication that you need to use a plumbing auger to clean the vent pipe.
Conclusion
To prevent your kitchen sink from clogging, you’ll need to make sure that it is properly vented. As a bonus, it protects your home from dangerous gases being brought in.
When the kitchen sink vent is linked to the main vent, the gas does not enter the house. Instead, they are blown out of the building and into the sky by the roof vents.