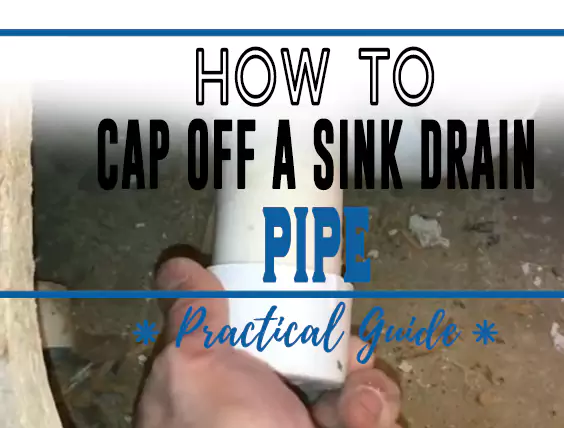
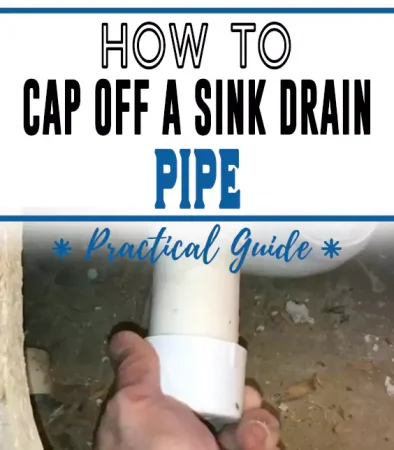
Doing renovations or making alterations to your kitchen and need to know how to cap off a sink drain pipe? We have a complete practical guide.
For some circumstances capping off your plumbing lines becomes quite necessary, especially when renovating a kitchen interior or if your drain pipes are damaged and leaking.
Mounting a cap on the pipes will allow you to seal them temporarily or permanently for a lifetime.
The capping process involves cutting the sink drain pipe and placing a cap at the top, either by just pressing it down or using cement to completely seal it in position.
The method is straightforward and convenient; you won’t require any special tools or plumbing skills.
Anyone can easily cap off their sink drain pipes. But for a proper operation, it is important to understand the accurate method for how to cap off a sink drain pipe.
This article includes a comprehensive guide on how to temporarily or permanently cap off sink plumbing, and how to remove it when required.
How to Cap off a Sink Drain Pipe
Capping off a drain pipe isn’t hard, but still, it is important to understand the proper method. You can easily cap off a sink drain pipe by using distinctive methods.
You can either cap off your plumbing temporarily for a short time or completely seal it eternally. A temporary sealing technique allows you to cap off a pipe while any renovation operations. The cap can easily be removed afterward.
Alternatively, you can also go for a perpetual capping of your drain pipes. By using a permanent sealing technique, you can fix damaged or leaky pipes to prevent water spillage. You can also use this method to shut off unused sink drain pipes.
Method 1: Temporary Capping a Sink Drain Pipe
While renovating the kitchen interior it is best to cap off your plumbing before starting the operations. Sealing the drain pipes for a while will prevent damage and water seepage. Here are some important steps to appropriately deploy the process.
Follow these steps carefully, for effective results:
Step 1: Cut off the Water Supply
For capping off your plumbing, you would have to make space for the cap to fit on. For this reason, you have to cut some pipes for proper cap installation.
To prevent water from gushing out during the cutting process, it is best to start by turning off the water supply.
You can find a water control button near the water meter. Simply turn it off to cut off the water supply to the pipes.
Some people don’t intend to cut the pipes and just want to unscrew them, it would still be practical enough to switch off the waterline before starting.
Step 2: Take Pipe Measurements
As you cut off the water supply, start measuring the drain pipe you want to cap and seal. Use a measuring tape to take precise measurements.
Carefully mark the area that has to be cut for the cap to fit on. Make sure the measurements are accurate, or it will affect the proper plumbing sealing procedure.
Step 3: Cut Through the Pipe
You don’t need special tools to cut the pipe. Simply use a small-toothed hacksaw for precise results.
Cautiously cut through the marked area of the pipe.
Step 4: Clean the Pipe
After cutting the pipe, you will find it filled with trash and debris. Use a clean rag or towel to make your drain pipes squeaky clean from the inside out.
Make sure to wipe all the water leaks and puddles as well, to make working as easy as possible.
Step 5: Sand the Edges
After cutting the pipe edges are not smooth enough. Even out the pipe using any type of natural abrasive.
Gently rub the cloth over the cut surface to make it smooth. Even ends allow better attachment of cap onto the drainpipe.
Step 6: Mount the Cap
Now all that’s left is to mount the cap onto the cut pipe area. Place the cap over the open drain pipe.
Push the cap down lightly to fix it in position.
Step 7: Final Check
For the cap to sit properly on the pipe, evaluate the cap’s dimensions before fitting it on the pipe. It will allow you to ensure that the cap is perfectly installed and isn’t coming off. Make sure the cap is accurately fixed in position.
Slightly pull the cap, if it comes off try fixing it again or ask for professional assistance.
Method 2: Permanently Capping a Sink Drain Pipe
In case, you want to cap off unused drain pipes or fix any damaged or leaky plumbing you can opt for a permanent capping technique. Leaky pipes if left unattended can cause water spillage that can damage the surrounding areas as well.
Permanent capping of unused drains or damaged drains pipe is more complex as compared to the temporary capping method. Here is a comprehensive guide for the permanent sealing of drain pipes.
Step 1: Cut off the Water Supply
The method also starts by turning the water supply off. It will help prevent water from moving out of the pipe while capping.
Simply switch off the water supply button to stop the water stream to the pipes.
Step 2: Measure and Cut the Pipe
Identify the damaged and leaky pipe and the type, which could be a P-Trap size. Use a measuring tool to mark the area of a damaged or unused drain pipe.
Cut the marked area by using an operative saw, and carefully remove the section of the pipe.
Step 3: Clean and Sand the Pipe
After cutting the pipe area use a towel to wipe off all the dirt and debris. Clean the pipe inside out, and the water spills in the surrounding area as well.
Use an abrasive cloth to sand the rough edges of the pipe at the cut portion. Gently rub the cloth to even out the pipe endings.
Step 4: Apply a Primer
After thoroughly cleaning, properly coat a primer onto the pipe. Use the primer on the interior and exterior surface of the outer cap and the affected drainpipe.
Be careful, while coating your drainpipe; it will help you create lubrication and make both ends affix together.
Step 5: Apply the PVC Cement to the Pipe
To properly cap off unused drain pipes, make sure to use a strong adhesive. Mostly, PVC cement is used for effective and long-lasting attachment.
Carefully put the PVC cement on both the cap and the pipe. Station the cap parallel to the top of your pipe. Slightly force the cap down on the sink’s drainpipe for some time. Tighten up the cap using a wrench.
Step 6: Final Check-up
To determine if your job is done faultlessly, you should inspect the fixture. Turn on the water flow by switching on the water supply line.
Examine the pipe for any spills or leaks. If you still see any leakage, it means the cap is not fixed properly. Try again or acquire professional assistance for appropriate capping.
How to Remove Cap from Sink Drain
In some conditions, you have to remove the cap from your sink drain pipe i.e. after finishing your renovation process. This article will cover you up. This guide includes steps to remove a cap from your drainpipes.
Follow these steps properly for best results:
Step 1: Cut off the Water Supply
Start by stopping the water supply to the pipelines. It will inhibit water to push out while you are removing the cap.
Turn off the water supply to your house, you can find the button near the water meter.
Step 2: Remove a Temporary Cap
A temporary cap is rather easy to remove. Grab the cap tightly and pull it out; it will come off instantly.
But removing a permanent seal isn’t this easy, You require a different method to remove a permanent seal from the pipe.
Step 3: Cut off the Permanent Cap Sealing
You can’t uncap a permanent seal drainpipe just by towing. A permanent cap is tightly attached to the pipe with help of adhesive material.
Identify the cap-pipe joint and wipe it using a clean rug or cloth. Align a sharp saw with the border of the cap, and place it on the pipe end as close to the cap as possible.
Cut through the pipe with a smooth motion, and remove the cap.
Step 4: Sand the Pipe Ends
To make the sides even use a clean abrasive cloth to sand the ends. It will give a more smooth finish.
Why do You Need to Cap-Off Unused Sink Drain Pipe
There are many conditions when capping off a drainpipe is the most ideal resort. Whether the drainpipe of your sink is damaged and overflowing or you have unused drainpipes i.e. you won’t be using them anymore, you should cap it off as soon as possible.
Capping a sink pipe is quite easy and offers the following profits:
1. Reduce Water Wastage
If your pipe is damaged and is continuously dripping, it would put a load on your water bill. Capping off your sink drainpipe prevents excess water consumption.
2. Prevent Additional Expenditures
The capping procedure doesn’t require any exceptional skills or tools. By deploying an easy method and simple tools you can seal off your pipeline.
You don’t have to spend more money to acquire professional assistance to seal a drainpipe.
3. Straightforward Installation Protocol
The process is quite easy and is done properly by following the above-mentioned steps. You don’t have to learn any special skills for the process.
4. Precise Repairs and Restorations
While you are renovating your interior, uncapped seals can cause water spillage or leaking. Thus, it is a must to seal off your drain pipes.
You can seal off your drain pipes easily without any trouble by capping their ends and then continue with your repairs smoothly.
5. Conserves your Drainpipes
Continuous leakage of water from the pipes can cause damage to both the pipe and the nearby area. It can affect your plumbing, and the sturdiness of your drainpipe will be extremely reduced.
Capping unused drains will prevent the pipe from damaging and enhance its life span.
Conclusion
In this article, I’ve explained why capping off a sink plumbing is necessary in case of a leaky or damaged pipe. Such pipes can continuously overflow, ruining your interior and increasing your water bill.
Learning the accurate method for capping off a sink drain pipe will surely help. The process is exceptionally convenient, and efficient.
Of course, you can find many methods to seal a pipe, but they are quite complex to execute. They may also require professional assistance, to be done properly.
I hope this guide will be helpful. You just have to follow the above instructions to easily cap off a PVC sink drain pipe without any issue.