Need to know what size P-Trap for kitchen sink you need? Whether you are fitting a new sink or fixing your undercounter plumbing, here is your complete guide to p-traps.
P-traps are one of the most popular and most used plumbing pipes in both kitchen and bathroom sinks, and come in a number of different sizes.
Here is our guide to what size P-Trap for kitchen sinks you need.
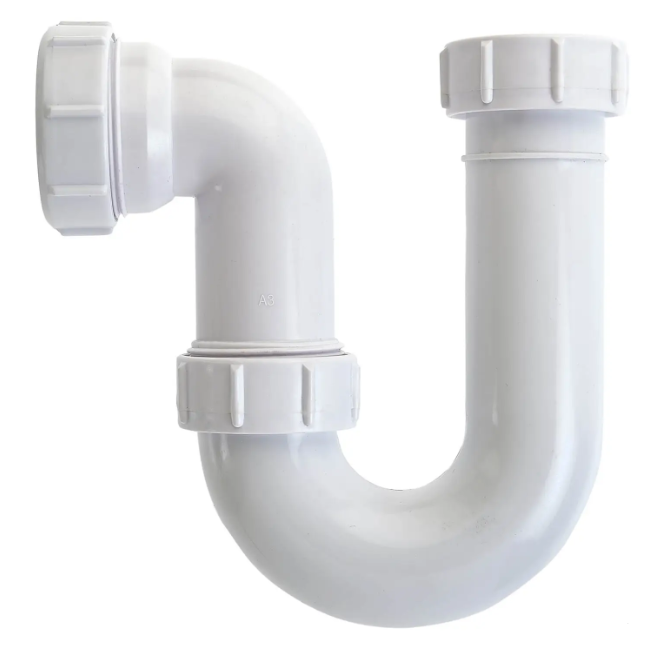
What is a P-Trap?
A P-Trap is a u-shaped bend in the waste pipe that connects a sink’s drain to a home septic tank or to a municipal sewer system.
It is shaped like a “P” – hence the name – and can be found under sinks, tubs and showers. It is one of the best kitchen sink drainage options.
A P-Trap creates an airtight barrier that stops sewer gas and odour from entering your home. It contains a pocket of water which blocks toxic smells from lingering.
Regular maintenance of P-Traps is important to ensure they are in good shape.
What Size P-Trap do you need for Kitchen Sinks?
The standard size for a kitchen sink P-Trap is 1-1/2 inches. This size is larger than the standard size for a bathroom sink P-Trap, which is 1-1/4 inches.
When replacing a P-Trap, it is important to use the same material that is currently in place to avoid problems.
To install a new P-Trap, you will need to cut 2.0-2.5 inches from the end of the tailpiece and the height of the P-Trap should be 4.5 inches
What is the purpose of a P-Trap?
The purpose of a P-Trap is to trap debris that has drained from the sink and prevent it from forming a clog deep within the plumbing system.
It also creates an airtight barrier that stops smells and odour and additionally contains a pocket of water which blocks from coming up through the plug holes.
P-Trap Installation Instructions
To install a P-Trap, first slide the short side of the P-Trap onto the tailpiece that drops down from the sink drain.
Then, take the lower part of the P-Trap apart and insert it into the wall bend using the long elbow joint.
If necessary, install a trap adapter before proceeding.
Finally, attach the J bend to the wall bend and tighten all connections with pliers or an adjustable wrench.
How to replace a P-Trap?
To replace a P-Trap, first move a bucket beneath the sink and remove the curved P-Trap.
Then, detach the trap arm and put together the new arm. You might need to cap off the drain if you need to use the sink.
Next, connect the trap bend to the waste arm and attach it to the drain pipe.
Finally, tighten all connections with pliers or an adjustable wrench.
P-Trap Maintenance Tips
To maintain a P-Trap, it should be cleaned once every three months.
This can be done by clearing out the cabinet beneath the sink and placing a bucket or large bowl underneath the plumbing to catch any water that may come out.
Then, unscrew the P-Trap and remove any debris or clogs that have built up.
Finally, reassemble the P-Trap and check for any leaks before replacing everything back in its original position