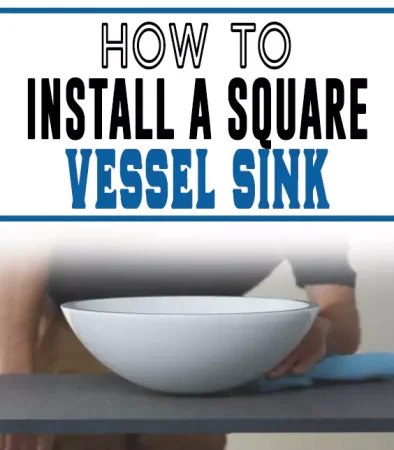
A vessel sink is a contemporary choice for the modern home. We’ve you a complete guide in how to install a square vessel sink.
It has been stylishly designed in such a way that it can sit on the countertop, unlike the traditional sinks that are recessed into the countertop.
Vessel sinks are mostly located in the bathroom and can be placed on the bathroom vanity. The surface of this vanity is mostly made of tile, granite, wood, or just any solid surface. Whatever surface the square vessel sink is placed on, creates a truly unique and polished look (vessel bathroom sinks pros and cons).
While installing a square vessel sink, you must create a hole on the adapted cabinet for the sink drain and also a faucet that must be installed separately. You must drill the sink drain hole in the appropriate location for a pleasing appearance and proper function.
This article covers the square vessel sink installation guide. In a few minutes, you will know how to install a square vessel sink.

How to Install a Square Vessel Sink
Before you begin the process of installing a square vessel sink, you must have the following tools and materials ready:
- Tongue-and-groove pliers
- Rag
- Hacksaw (as needed)
- Drain fitting and tailpiece
- Plumber’s putty
- Pipe-joint compound
- Drain trap assembly (1 1/4-inch or 1 1/2-inch, as needed)
Step 1: Placing the sink
You must first place the vessel sink on any adapted cabinet or countertop. Some sinks are normally equipped with a gasket or mounting ring (depending on the manufacturer). You must install the mounting ring between the countertop and the sink.
If you’re lucky to have one from the sink you just purchased, place the mounting ring on the drain hole and place the vessel over the ring. Some sink designs may require silicone adhesive to secure the vessel sink with the adapted cabinet.
Step 2: Inserting and securing the drain fitting
Vessel sink drains are usually fitted with tailpieces, which are vertical lengths of pipe reaching downward from a drain hole. However, there are cases where it may be necessary to tighten the screws after the drain hole installation.
Begin installing the sink by using the plumber’s putty to pack the pipe around the bottom of the sink. Then, inset the tailpiece into the drain hole. But do not tighten the lock nut yet.
Step 3: Screw the drain tailpiece
In this step, you begin by screwing the tailpiece into the strainer thread and making sure you screw it properly. The drain tailpiece and assembly mostly come with a faucet, and the kit may also have a pop-up drain plug that connects with the crane lift rod, the tailpiece will have a drain hole designed for the connector lever.
In case the drain flange is labeled, position it directly in front of the sink in such a way that the lettering reads upward after tightening the tailpiece. But do not tighten it too much so that you won’t damage your sink.
Double-check the drain fit alignment and lettering to ensure they are still upright. Use a rag to wipe the excessive plumber’s putty on the drain flange.
Step 4: Reinstalling the drain plumbing
If a pop-up assembly comes with the faucet, screw the stopper lever to the tailpiece, then you must create a connection between the p-trap and the sinkhole tailpiece by using a slide nut and a washer to tighten it for now.
Then use a hacksaw to cut and skim off the nozzle to the desired length, then adjust the P-trap so that you can tilt the trap arm slightly downward towards the drain.
Ensure you check the fits of all drain sections again, then use your hand or the tongue-and-groove plier to tighten the slide nuts. Most slip nuts do not need pliers but make sure the nut is not too tight.
Step 5: Checking for leaks
Run water through the sink to confirm if there are any leaks below the sink. Once you have confirmed there aren’t leaky areas around the sink, the sink must be filled with water for a volume test. Minor leaks in the slip nut can be corrected simply by screwing the slip nut.
If water is still leaking beneath the sink to the countertop, then it means you haven’t properly fixed the drain fit to the sink bottom. So if you experience this, you will have to reinstall the drain. And this time around, you must focus on sealing the drain fit properly.
Re-Cap
Vessel sinks have various sizes and shapes, some are designed in round shapes like that of a bowl while others are designed in square or rectangular shapes with a nearly flat bottom.
Hopefully, you have successfully installed the square vessel sink following this guide, it’s time to enjoy the sink.
Take a look at the appearance of your newly installed square vessel sink combined with the clean and elegant line of the faucet.
