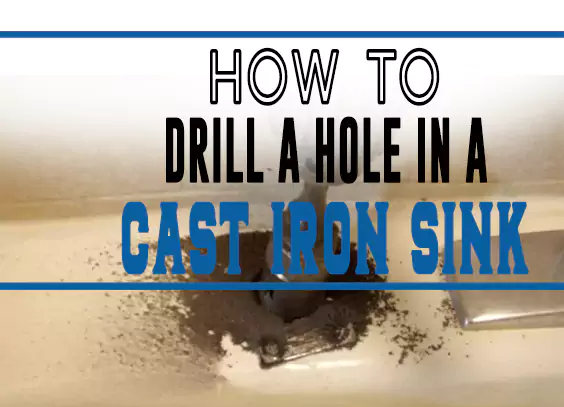
A cast iron sink would be the right choice for every homeowner wanting a durable sink. But you might need to know how to drill a hole in a cast iron sink.
Cast iron is a sturdy metal that has various uses and applications. Cast iron sinks can be used in the kitchen, farmhouse, bathroom, and other areas where you can drain water.
The best cast iron farmhouse sinks do not come with a pre-drilled hole, therefore, this requires cutting a sink drain hole before installing.
Drilling a cast iron sink requires a few things to be done but with the right tools, anyone can do this. Cast iron sink is more brittle compared to stainless steel, so you can easily drill a cast iron sink with the right drill bit.
But you must drill slowly to avoid overheating or excessive friction while drilling a hole in the enamel cast iron sink.
How to Drill a Hole in Cast Iron Sink
Before we go into the detailed guide on how you can properly cut through a cast iron sink, you must prepare yourself with the items below.
- Drill
- Hammer
- Paintbrush
- Lubricating oil
- Safety gear
- A pair of goggles
- A pair of work gloves (preferably leather)
- Long sleeve clothing
Step 1: Lubricate your Drill Bit
The first thing is to apply lubricant to your drill before you put them to use. But, if you intend to drill a 1/2 inch hole in the cast iron sink, there is no need to lube them.
But for anything beyond that, you should get a cutting fluid. A gallon bottle of cutting fluid is recommended if you have a lot of metal to drill.
Step 2: Locate the Hole
You must decide the area where you intend to drill the sink. It is not necessary to drill the cast iron sink at the center, where it is placed off-center, the sink must be sloping so that the water can drain properly.
Once you have created an indent in the intended area to drill, you must mark the location preferable with a hammer or masking tape.
Step 3: Prepare the Drill
Always check the hole size and ensure that you are using the corresponding drill bit. For example, while applying a screw to the hole, you must use a bit slightly smaller than the screw, this way, the screw will be firm on the sink.
While drilling the porcelain cast iron kitchen sink, make sure you insert your porcelain bit on the drill chuck to tighten it and ensure that it is tight.
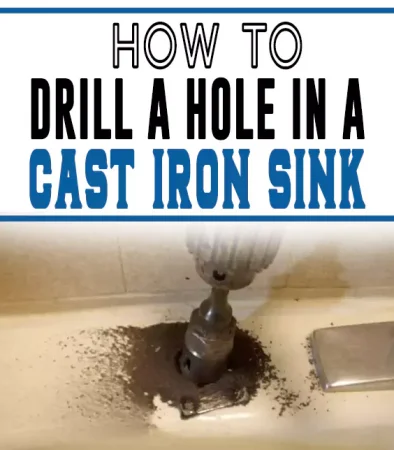
Step 4: Make a Hole in the Sink
You must be patient and have precision in this step. Start drilling slowly with your porcelain bit on the indent you created using the nail.
Make sure you hold the drill nearly vertically so that the drill is as upright as possible as it rotates.
Start drilling slowly. The slow, steady motion allows you to control the holes you drill.
You can start with a smaller bit in this step if you’re worried about making a mistake. It’s better to do it a few times than to mess everything up.
Step 5: Smooth the Rough Edges
After drilling the sink, the next step is to smooth out the rough spots. Use sandpaper to smoothen the rough edges.
This is important for safety precautions so that the sharp edges won’t hurt you. Also, since the sink is hard, those rough edges may damage or mar the drain assembly.
Step 6: Finishing the Process
After successful drilling, you must clean the area where you drilled. Clean the surface with a dry cloth, then use a damp cloth and repeat the process with a dry cloth.
Be careful when brushing or blowing the particles. You must not blow away the particles roughly with your hands as it can cause scratches on your iron sink surface.
You may use a brush, an air blow, or just gently move the sink so that the scattered particles can fall on the ground.
How to Enlarge an Existing Hole in a Cast Iron Sink
Enlarging sink holes is not an uncommon practice, however, there is a tool you must use to have a perfect job. The tool required here is called a Reamer.
The process of reaming is different from traditional drilling because it requires an existing hole. The work of a reamer is not to create a hole in the sink but to enlarge the size of the current hole or holes.
A guide has been provided on how you can utilize a reamer, so while drilling holes in the new sink or even in your kitchen sink, you can always rely on the reamer to enlarge the holes.
- Select the correct reamer for your desired hole size. For example, if you want to enlarge the hole from 8mm to 16mm, you should not do it all at once. For the best outcome, and to prevent the tool from breaking, gradually enlarge the hole by 2-3 mm at a time using a reamer of the appropriate size.
- Attach the reamer to your drive tool.
- Insert the reamer into the hole you want to enlarge.
- After you have done that, pull the reamer gently so it does not touch the sides of the hole and begin to turn it.
- Begin to cut by applying constant feed pressure throughout the process.
- Once the reamer reaches its widest point, the cutting is complete, so you can stop and pull the reamer.
Protect a Cast Iron Sink from Scratching While Drilling
Get Enough Lubricants
Your drill bit must be constantly oiled while drilling a hole in your iron sink. When you lubricate the drill, you are keeping it from not overheating so that it doesn’t damage your iron sink.
Drill in Small Bursts
The best way to drill a hole through porcelain cast iron is by drilling in small bursts so that you can prevent sparks or fire risks while drilling.
If you are careless, you can easily scratch your sink surface with your drill bit while moving it over the surface. You can prevent this by ensuring the drilling area is indented.
This gap will secure the tip of the drill bit. You must apply enough pressure on the drill and your drilling must be in small bursts. This will prevent the drill bit from slipping when you start drilling the iron sink.
Place your Iron Sink on Smooth Surface
It is important that the surface you place your iron sink upon is smooth to prevent it from scratching.
This means you should never place your iron sink on a rough surface. A non-abrasive surface is the safest place to preserve your sink.
Keep the Sink Level
This is an obvious suggestion that is often overlooked. Always ensure to keep your iron sink level so you can drill the hole precisely. This will also reduce the chance of your drill bit slipping and the likelihood of accidental scratches.
Wrap-Up
The preparation and processes of drilling a cast iron sink are relatively easy if you know what you are doing.
Another benefit of the cast iron sinks without pre-drilled holes is that you have many choices in deciding where you want to place your drain on the sink. Therefore, you can give your sink any customization you like.
Remember that you can always cut extra holes in the cast iron sinks but you can’t add to the material. So, you should be conservative while drilling and you may work larger holes if necessary.
With the instructions given above, you should be able to drill a perfect hole in your cast iron sink safely.